As summer heat waves hit, your air conditioner’s sudden refusal to work can cause sweaty frustration. DIY AC troubleshooting is not only practical but could save you a costly visit from the repairman.
This guide will walk you through simple steps to identify and fix common issues with your AC unit, ensuring you’re back to cool comfort in no time. Dive into our tips and take control of your indoor climate!
Necessary Tools for DIY AC Troubleshooting
Start by equipping yourself with a reliable multimeter to tackle DIY AC troubleshooting. This device measures voltage, current, and resistance; it’s crucial for diagnosing electrical issues within your air conditioning system.
Ensure you have a quality voltage tester to check if circuits are energised before working on them. You’ll also need insulated screwdrivers and needle-nose pliers for safety when handling wires.
Don’t forget about the physical aspects of the job – an adjustable spanner and socket set will help you loosen and tighten bolts on various components like the condenser fan motor or air handler.
A cordless drill can speed up removing panels or driving screws into tight spaces. Keep a can of compressed air handy to clean out any dust or debris from sensitive parts such as evaporator coils without damaging them.
These tools will assist in maintaining your HVAC unit efficiently while ensuring your safety during the process.
Understanding the Anatomy of a Central Home Air Conditioner
Central air conditioners operate by moving cool air through a system of supply and return ducts. Supply ducts and registers carry cooled air from the air conditioner to the home, where it becomes warm and is then cycled back into the central air conditioner through return ducts and registers.
The heart of this process lies within two key units: the evaporator coil, which cools the warm air as it passes over its chilled surface, and the condenser unit typically located outside the house.
The evaporator coil sits inside your home, tucked away in a closet or basement. This component gets cold due to refrigerant circulating inside it; when indoor air blows across it by means of a blower fan, it absorbs heat from your living space.
Meanwhile, outside in what’s often known as the ‘outdoor unit’, resides both the compressor – responsible for compressing refrigerant into a high-pressure state – and a fan that dissipates heat outwardly after refrigerant has released its captured warmth from indoors.
These are enclosed within a protective metal casing alongside other essential elements such as capacitors and AC contactors critical for efficient operation. Understanding these components’ interplay helps you pinpoint issues swiftly during DIY troubleshooting efforts on central cooling systems.
Common AC Problems and DIY Solutions
Discover quick fixes for a range of common AC hiccups, from tweaking thermostat mix-ups to unclogging filters, and keep your cooling system in peak condition without delay.
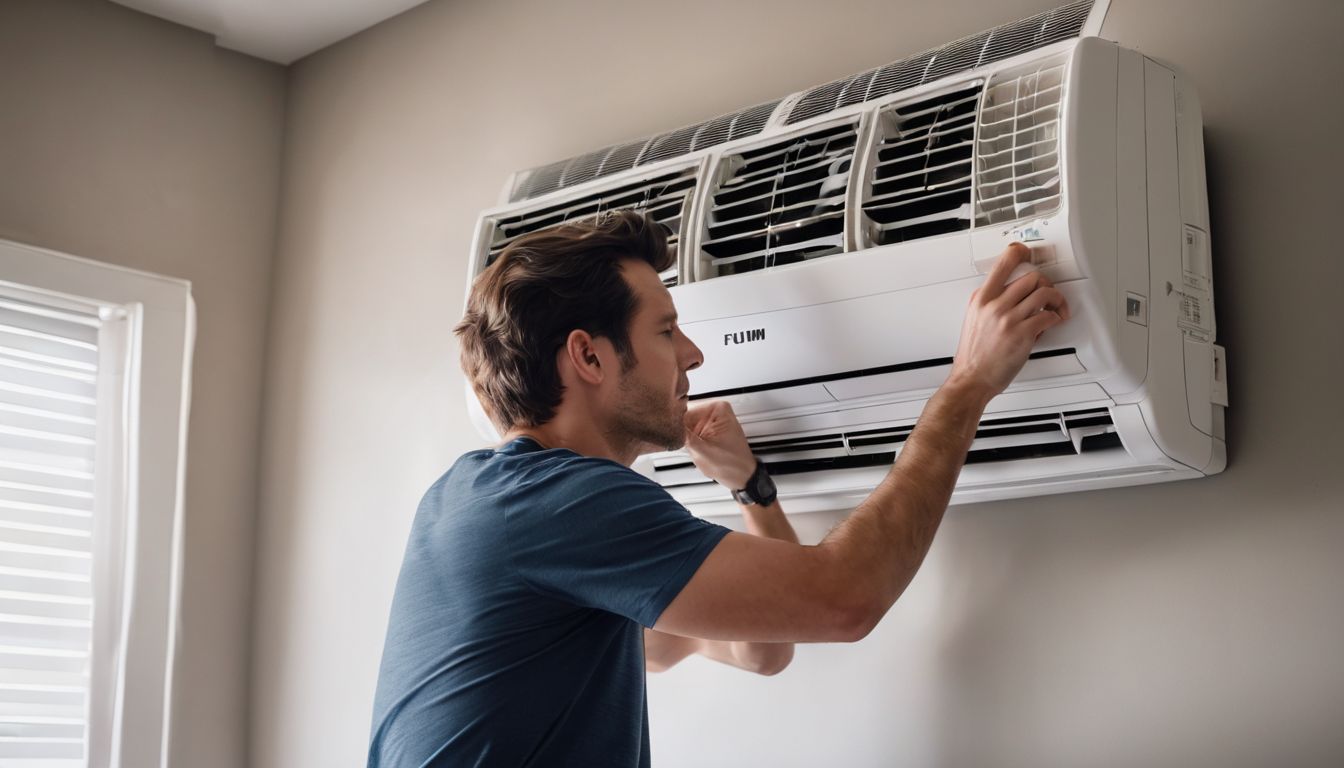
Incorrect Thermostat Settings
Incorrect thermostat settings often cause headaches for homeowners trying to keep their spaces cool. If your central air conditioning isn’t performing as expected, quickly checking the thermostat can save time and prevent unnecessary stress.
Make sure the system is set to “cool” rather than “heat” or “off,” and verify that the temperature setting is lower than the current room temperature. This simple step may resolve weak airflow or inconsistent cooling issues.
Additionally, it’s crucial to ensure that your thermostat’s battery doesn’t need replacing if it’s not hardwired into your home’s electrical system. A malfunctioning thermostat could also trip the circuit breaker connected to your HVAC system, leading to service failures.
So, take a moment to inspect these elements before diving deeper into more complex DIY air conditioner troubleshooting steps.
Clogged or Dirty Air Filters
Clogged or dirty air filters are a leading culprit in home air conditioning troubles. They restrict airflow, making an A/C unit work harder and less efficiently, which can lead to increased energy consumption and higher utility bills.
This inefficiency may cause parts of the system to overheat and wear out prematurely. Additionally, poor airflow from a filthy filter triggers problems such as frozen evaporator coils and uneven temperature distribution throughout your home.
Regularly cleaning or replacing these air filters restores proper function and improves indoor air quality. Consider how dust buildup blocks crucial components like the evaporator coil; clearing this blockage often stops water leaks from your A/C’s internal workings.
Taking action on dirty filters not only extends the life of your central air-conditioner but also enhances performance on those sweltering days when you need relief most. By maintaining clean filters, you ensure that every breath in your home is fresh and cool—optimising comfort without placing strain on your HVAC system.
Tripped Circuit Breakers
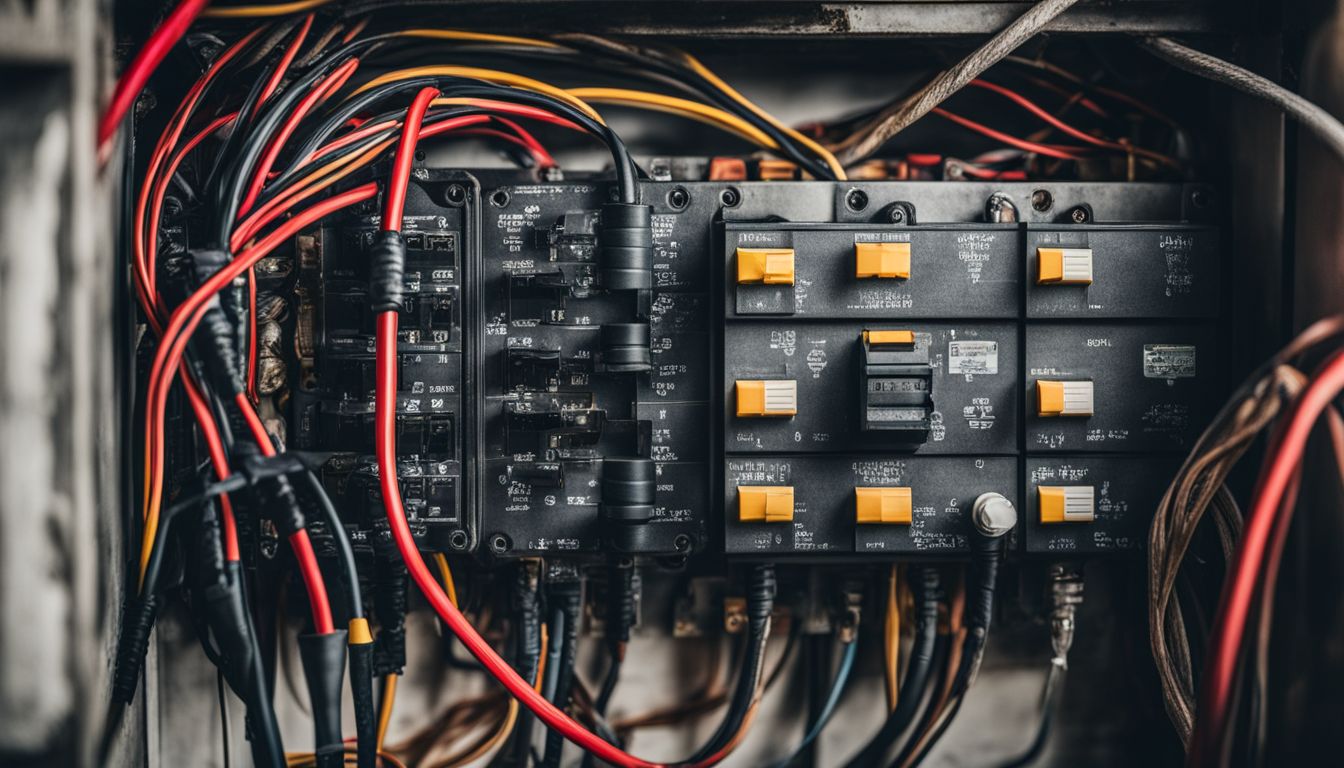
Tripped circuit breakers can leave you sweating if your AC suddenly stops working. Electrical surges or overloads often trigger this protective measure to prevent damage, including potential fires.
If your air conditioner keeps tripping the breaker, take a closer look at clogged filters and coils as they force the unit to work harder and draw more power than it should.
Inspecting the electrical panel for any signs of wear and tear is crucial because deteriorated wires may be the culprits behind frequent trips. An undersized or faulty circuit breaker could also cause instant tripping as soon as you turn on your AC unit.
To ensure safety and proper diagnosis, a voltage detector helps identify live circuits before touching anything inside the panel. Remember, promptly addressing circuit breaker issues prevents further harm to your air conditioning systems and household electrics.
Blocked or Closed Air Vents
Blocked or closed air vents are often the culprits for inefficient cooling in homes. Airflow is crucial for an AC system to function properly and when vents are not fully open, rooms can get too warm regardless of how hard your unit works.
It’s common for furniture or drapes to cover these vents accidentally, so a quick inspection and rearrangement might be necessary. Clearing obstructions allows cool air to circulate freely, ensuring that each room reaches the desired temperature.
Ignoring blocked air ducts can also lead to more severe issues like ice forming on refrigerant lines and frozen evaporator coils which may result in annoying water leaks indoors. Regular checks of your forced-air system’s pathways prevent these complications and maintain consistent comfort levels throughout your living space.
Be sure to look out for any unusual noises as they can indicate airflow restrictions due to blockages in vents or significant damage within the ventilation network. Keep fans clean and operational with straightforward maintenance tasks; this could save you time and money before problems escalate.
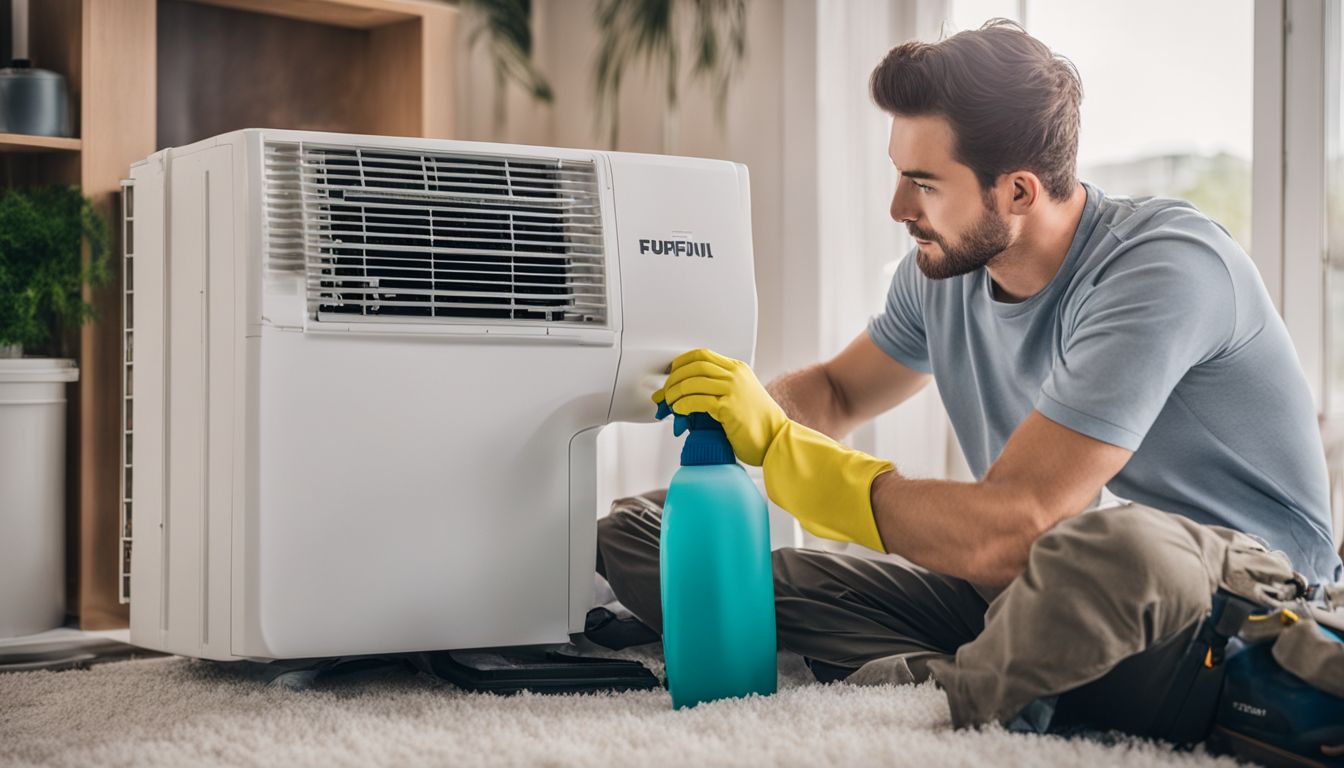
Dirty Outdoor Unit
Your central air conditioner’s outdoor unit can suffer from leaves, dirt, and debris buildup. This accumulation can hinder the system’s efficiency by blocking airflow and overheating the condenser coils.
Regular cleaning is essential to prevent these issues and maintain your AC’s performance.
Tending to a dirty exterior unit involves shutting off power to the system at both the thermostat and breaker levels for safety. Once powered down, remove any visible debris by hand or with a gentle brush.
Hose down the fins carefully, being careful not to bend them, as straight fins allow for better air movement through the coil. Keeping this component clean helps avoid common AC headaches like increased energy consumption or complete system breakdowns.
Low Refrigerant Levels
Low refrigerant levels in your air conditioner can lead to a host of problems, from weak airflow to the system making odd noises. It’s crucial to check for these signs as they could point towards a potential leak or indicate that your unit is losing refrigerant over time.
Without enough refrigerant, the AC can’t effectively remove heat from your home, leading to poor cooling performance and strain on other components.
If you suspect low refrigerant, inspecting the lines for leaks or damage is wise before it causes a complete breakdown. Regular maintenance might prevent this issue altogether by ensuring that connections remain secure and seals stay intact.
However, topping off or charging the system with more refrigerant should be done by professionals due to the precise nature of this task and environmental regulations regarding certain types of refrigerants.
Knowing When to Call the Pros for AC Repairs
Sometimes, air conditioner problems are too complex or hazardous for a DIY fix. If you spot ice on the evaporator coils, hear strange noises from the unit, or if your AC emits a burning smell, it’s time to get expert help.
Professionals have the right tools and expertise to safely handle refrigerants and electrical components that could be beyond your scope.
Leaks in your system might seem like something you can patch up yourself, but they often indicate deeper issues with your cooling system. An experienced technician will discern whether mould has developed within the ducts or insulation needs replacing – intricate tasks requiring professional equipment and knowledge.
Moreover, serious electrical issues such as faulty wiring should always be addressed by certified professionals who know how to prevent further damage or risks of fire.
DIY Air Conditioner Service Repair Steps
Embarking on a DIY air conditioner service repair requires stepping into an intricate web of components—armed only with your trusty tools and resolve, you’ll tackle tasks from cleaning grime-laden condenser coils to scrutinising fuses with a vigilant eye.
Emerge as the savvy handyman who can preserve the chillers’ cool breath without dialling for professional backup.
Cleaning the Condenser Coils
To spruce up your AC’s performance, focus on the condenser coils that sit in the outdoor unit. Initiate this essential maintenance task by inspecting the coils for accumulated debris such as leaves, spiderwebs or dirt clumps.
A special brush will dislodge larger bits while thoroughly rinsing with an evaporator oil product can tackle grime and ensure optimal heat exchange.
Next, use a shop vacuum to suction out all the loose materials around and within the unit. This step not only clears unwanted dirt but also bolsters your air conditioner’s efficiency.
Regularly cleaning these coils helps prevent blockages that can cause your system to work harder, leading to increased wear and tear over time.
Checking the Fuses
Before diving into more complex AC repairs, checking your unit’s fuses is vital. A blown fuse often signals a malfunctioning part within the condensing unit. Locate your air conditioner’s disconnect block and search for cartridge fuses; these should be intact for your system to operate correctly.
If you find that a fuse has indeed blown, replacing it is straightforward and inexpensive—this might just bring your AC back to life.
Use an ohmmeter to confirm whether the fuses have continuity; no reading indicates a need for replacement. Ensure power is switched off before handling any electrical components inside the AC system.
This simple step safeguards against potential hazards and prepares you for further troubleshooting or repair tasks, like addressing issues with your start/run capacitor or heat exchanger if necessary.
Remember that working with electricity requires caution – if uncertainty lingers after checking the fuses, seeking professional help may be the wisest course of action.
Replacing the Start/Run Capacitor
If your air conditioner is humming or your energy bills have spiked, you might need to replace the start/run capacitor. First, switch off the power to avoid any electrical hazards.
Locate the side panel on your AC unit and remove it to access the capacitor. Discharge the old capacitor before handling it, as it can hold a charge even when the power is off.
Grab your replacement capacitor, making sure its specifications match those of the old one; capacitors tend to be universal, so finding a fit should not be too hard. Connect the new capacitor where you disconnected the old one, ensuring all wires are attached firmly and in their proper place.
Once connected securely, reassemble your unit’s panel and restore power. A successful swap will save you from unnecessary stress on other parts like circuit boards and help prevent more expensive repairs down the line.
Replacing the AC Contactor
Replacing the AC contactor is a crucial step in maintaining your air conditioning system’s efficiency. Before you begin, ensure the power is turned off for safety; this is a must to prevent electrical shock or accidents.
With the electricity safely disconnected, locate the old contactor which usually resides in the outdoor unit of your system. It functions as a relay switch and ensures that when you set your thermostat to cool, low-voltage power activates the high-voltage circuit.
Use caution when removing wires from the old contactor, taking note of where each one was connected – snapping a quick photo with your phone is often helpful for reference. Install the new contactor by securing it in place and reconnecting wires exactly as they were on its predecessor.
This component typically has a lifespan between five to ten years, so changing it might be due even before you notice issues with performance. After installation, turn back on the power and test if your AC operates correctly—a successful swap means restored function without calling professional help just yet.
Conclusion
In wrapping up, remember that keeping your air conditioner humming doesn’t always require expert hands. Tackling simple issues yourself can lead to big savings and deep satisfaction.
Always follow safety steps diligently when performing DIY repairs. Stay cool by mastering these troubleshooting tricks for a more comfortable home. Trust in your new skills to maintain a fresh and chill environment all summer long.
If you find that the issues with your AC unit are more severe, make sure to consult a professional for air conditioner repairs.
FAQs
1. What should I check first if my AC isn’t cooling properly?
Start by checking the thermostat to ensure it’s on the cool setting and that mini splits or central unit filters aren’t clogged, which could restrict airflow.
2. Can I clean the ducts of my AC system myself to improve performance?
Yes, you can perform duct cleaning as a part of DIY maintenance, but be careful and gentle to avoid damaging any parts.
3. Why does my refrigerator make strange noises when I try to use the AC?
Your refrigerator operates separately from your AC; however, if they share a circuit and your AC starts making noises, check its capacitors as they might need discharging or replacing.
4. Is it safe for me to discharge the capacitor in my air conditioning unit by myself?
Discharging an air conditioner’s capacitor can be dangerous if you’re unfamiliar with electrical components; always follow safety instructions or contact a professional for help.