As summer heats up, a malfunctioning air conditioner is the last thing you want. Every year, countless households face the puzzle of AC electrical issues that can be annoying and expensive.
Our step-by-step guide offers practical advice to tackle these problems yourself, potentially saving time and money.
Common AC Electrical Problems
Navigating the maze of AC electrical issues can be a daunting task, as they often stem from a variety of sources ranging from simple wear and tear to more complex circuitry faults.
Identifying these challenges early on is key to maintaining an efficient and reliable air conditioning system in your home or office.
Wiring Issues
Wiring issues in your air conditioning system can range from minor annoyances to major safety hazards. Loose connections, frayed wires, or incorrect installations can interfere with your AC’s performance, leading to intermittent power outages or complete system failure.
Inspect your unit for any exposed wiring that could pose a risk of electrical shocks and ensure all outlets function properly.
Fixing faulty wiring calls for a careful approach as it directly involves the safety of your home. High-resistance connections might overheat, increasing the risk of fire hazards in tightly packed spaces like a garage or utility room where the AC unit may be located.
Always use proper tools such as voltage testers before touching any wires and follow manufacturer guidelines when making adjustments to avoid causing further damage to the electrical system.
Faulty Capacitors
Faulty capacitors can bring your AC unit to a halt, often without warning. They’re vital components that store and release electrical energy to start and keep the motor running smoothly within your HVAC system.
If you notice your air conditioner struggling to kick on, producing less cool air than usual or making strange noises, consider checking the capacitor. Extreme heat and unexpected impacts from debris are common culprits behind damaged capacitors.
Replacing a bad capacitor is essential for restoring full function to your cooling system. First, ensure safety by turning off power at both the unit and circuit breaker before handling any parts of the electricity-dependent machinery.
It’s possible for anyone comfortable with household repairs to tackle this problem, but remember that high voltage dangers mean that sometimes it’s best left in the hands of an experienced electrician.
With a new capacitor fixed in place, you’ll likely find the AC unit humming back into action as efficiently as day one.
Breaker Issues
Breaker issues are a common headache for homeowners with air conditioning systems. If your AC fails to turn on, check the breaker box; a tripped circuit breaker is often the culprit.
High power consumption from multiple appliances can overload circuits, causing breakers to trip as a safety precaution. It’s crucial to pinpoint if your air conditioner is responsible or if it’s another device hogging the power.
Resetting the tripped breaker might get your AC running again, but frequent trips signal underlying problems that need attention. Ensure no single circuit is overloaded and consider calling an electrician to investigate persistent issues with fuses or circuit breakers.
Consistent overloading not only jeopardises your AC’s functionality but also poses significant electrical hazards in your home. Safeguarding against these risks involves regular maintenance checks and understanding how different components of your home’s electric system interact with each other—and with your HVAC system—can be key in preventing future interruptions of service.
Understanding AC Repair Costs
AC repair costs can be a surprise if you’re not prepared. Fixing a simple issue like replacing air filters or cleaning condenser coils usually doesn’t break the bank, often costing under $100.
However, more complex problems such as dealing with faulty capacitors, wiring issues, or breaker troubles may push repairs into the hundreds of dollars.
Electricians and HVAC specialists consider several factors when billing for AC repairs. The total cost includes their service charge, parts needed for the fix, and how long they spend troubleshooting your system.
Some services might also charge extra for emergency calls or after-hours work. It’s good practice to request detailed quotes from professionals so you can understand what you’re paying for before they start fixing your unit.
Keep in mind that investing in routine maintenance can save money down the road by preventing larger electrical problems in your heating and cooling systems.
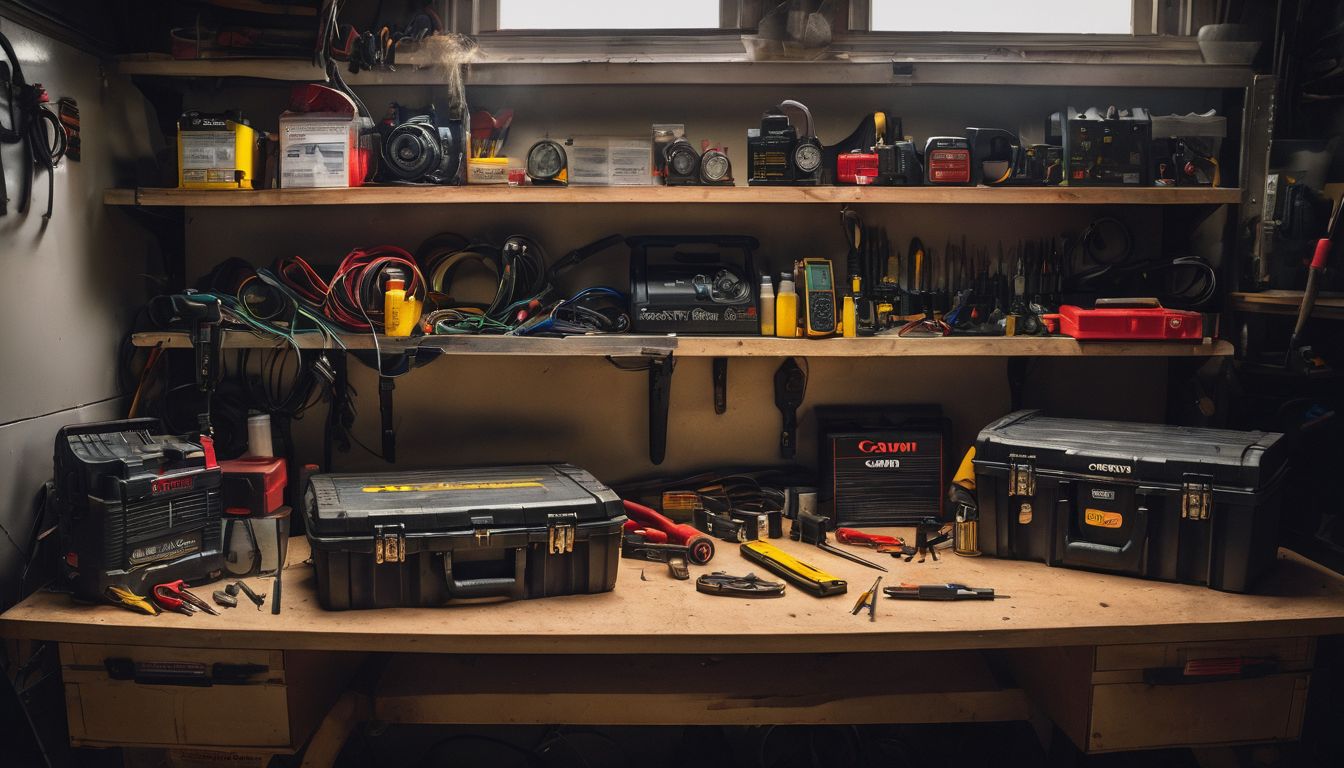
Tools for Troubleshooting AC Electrical Problems
Equipping yourself with the right tools is paramount when delving into the world of AC electrical troubleshooting; these instruments are your allies in pinpointing and addressing intricate issues that could otherwise elude detection.
Continue reading to learn how each tool can be effectively utilised for maintaining the optimal performance of your air conditioning unit.
Multimeters
Multimeters are essential for anyone tackling AC electrical issues. They help you test and diagnose problems with various components, making it possible to pinpoint faulty connections or short circuits in your system.
You can also use them to check for a continuous flow of electricity, ensuring that your air conditioning unit is receiving the power it needs to function properly.
Handling a multimeter requires knowledge of its parts and functions. Technicians rely on them to quickly assess whether there’s an issue with the run capacitor or if there has been damage from a power cut.
Without these versatile tools, diagnosing electrical faults in HVAC systems would be far more challenging and time-consuming. By understanding how to use a multimeter effectively, you can determine the root cause of most AC malfunctions and address maintenance needs promptly.
Infrared (IR) Cameras
Infrared (IR) cameras are essential in spotting heat-related issues within AC systems. These devices capture thermal images that show temperature variations, revealing problems invisible to the naked eye.
They enable technicians to identify overheating components or electrical faults quickly. This real-time analysis is vital for predictive maintenance and can help avert potential system failures.
Using IR cameras simplifies the troubleshooting process as they assess the condition of various parts without direct contact. Technicians use them to safely scan air vents, connectors, and other electrical fixtures from a safe distance, guarding against the risk of electrocution.
Thermal imaging illustrates the severity of an issue clearly, assisting in explaining repair needs to customers while prioritising safety precautions.
Insulation Resistance Testers
Insulation resistance testers, often known as meggers or megohmmeters, are essential for assessing the integrity of electrical installations. They deliver measured values in ohms or megohms directly, revealing the condition of insulating materials within motors, generators, and transformers.
Applying a high voltage through an insulator and measuring current leakage, these devices help pinpoint deteriorating insulation before it fails.
Electricians rely on this tool to ensure safety and system reliability by detecting potential risks like moisture ingress or insulation damage that could lead to short circuits or electric shocks.
Regular use helps maintain an energy-efficient HVAC system by preventing unexpected power cuts and minimising maintenance costs. It’s vital for troubleshooting in homes with central air systems and heat pumps where proper earthing and uninterrupted power supply are critical for operation during seasons of high demand such as summer months when air conditioners run frequently.
Power Quality Analysers
Power quality analysers are critical tools that electricians and HVAC technicians use to assess the integrity of electrical power. These devices provide valuable insights by measuring factors like voltage, current, power factor, harmonics, and other electrical parameters.
They help pinpoint the root cause of issues like interference or unexpected downtime in heating and air conditioning systems.
Using these analysers can reveal whether poor power quality is affecting performance or causing damage to sensitive electronics within HVAC units. Technicians can detect problems such as harmonic distortion which could lead to malfunctioning equipment or shortened lifespans for components.
Properly identifying and addressing these issues ensures that residential and commercial settings maintain reliable and efficient operation of their air-conditioned environments, minimising energy waste while safeguarding against potential hazards.
Step-by-Step Guide to AC Electrical Troubleshooting
Discover the essentials of AC electrical troubleshooting with our straightforward guide. By following a structured approach, you’ll navigate through the process of identifying and fixing common issues afflicting your air conditioning unit, ensuring that it’s up and running without the need for costly professional intervention.
Check the Error Code
Spotting the error code on your AC might be key to identifying what’s gone wrong. Your Mitsubishi air conditioner will display specific codes corresponding to certain issues, directing you toward the root of the problem.
Consult the owner’s manual for a breakdown of each code’s meaning; this should be your first step in troubleshooting.
Once you’ve noted down the error code, compare it with the information provided in your manual. This cross-referencing can often reveal straightforward solutions or necessary checks, simplifying your repair process before moving on to more complicated tasks.
It guides you through basic inspections and fixes, which could possibly save you a call-out fee from a professional if it’s an easy fix.
Cross-reference with Your Owner’s Manual
Pull out the owner’s manual with your air conditioner to tackle puzzling error codes. This booklet is a treasure trove of information tailor-made for your specific model.
It highlights critical guidelines to ensure safe installation, preventing mishaps such as electrical shocks or fire hazards. Use this manual to decode what those blinking lights or beeps mean; it’s likely they’re signals pointing you towards the heart of the issue.
Dive into the troubleshooting section of your manual – each step is designed by experts who know your unit inside out. Not only will it guide you on how to address common hitches like faulty capacitors or wiring concerns, but it also advises on matters such as refrigerant levels which strictly require professional handling as per manufacturer’s advice.
Don’t guess when you have a resource at hand guiding you through systematic checks and fixes, ensuring every move aligns perfectly with safe operating practices outlined in the local aircon guidelines.
Turn Off Your Unit and Unplug it from the Socket.
Before diving into the heart of troubleshooting, make sure to shut down your AC unit completely. Flip the switch or press the power button to turn it off, ensuring it’s no longer operating.
This essential step is not just about prep—it’s your first line of defence against potential electrical hazards.
Now, reach for the plug and carefully disconnect it from its socket. Cutting off all power eliminates any chance of electric shock, making it safe for you to start inspecting and resolving any issues with the air conditioning system without worrying about unintended jolts or accidents.
It’s a straightforward move but one that sets you up for a secure fix session. Always treat this as a non-negotiable part of your maintenance routine whenever electrical work is on the agenda.
Test the Fuses
To test the fuses, first, ensure your AC unit is turned off and unplugged to prevent any electrical hazards. Grab your multimeter setting it to the correct configuration for fuse testing.
Approach your fuse box with caution; a faulty or blown fuse is often the culprit when an AC unit stops working suddenly. Carefully remove each fuse from its slot in the grid and use the multimeter to check for continuity.
A continuous beep signifies a good fuse, whereas silence indicates you’ve found a blown one.
Identifying which fuses are no longer working means you’re zeroing in on where the problem might be lurking within your system. Replace any defective ones with new fuses that match their specifications exactly—this ensures all components of your air conditioning setup are properly protected against power surges and other electrical issues.
Make sure every new fuse sits securely in its place before closing up the access panel and restoring power to test if this has solved the issue.
Inspect the Access Panel
Carefully remove the access panel from your AC unit to start a thorough inspection. Use a flashlight to illuminate the area, making it easier to spot any loose connections, worn wires or signs of burning that could indicate serious problems.
This step is critical because it lets you see where electrical components like capacitors and relays reside.
Ensure all power supplies are disconnected before examining the wiring. Look for any indications of damage or overheating, as these can be tell-tale signs of electrical issues that might require immediate attention.
By checking every inch carefully, you address potential risks early on and ensure that other troubleshooting steps are not in vain due to an overlooked wiring problem behind the access panel.
Replace Any Broken Parts
Once you’ve identified faulty components during your AC system inspection, it’s time to get them replaced. Broken parts can cause your unit to run inefficiently or even break down completely.
Reach for new capacitors, contactors, or wiring that match the specifications of your air conditioning model. Make sure you turn off all power sources before attempting any replacements.
Use proper tools and follow the manufacturer’s instructions closely to ensure a safe and correct installation.
Fit each replacement part securely in place and double-check all electrical connections are tight and corrosion-free. This attention to detail will help prevent future breakdowns and maintain optimal performance of your AC unit.
After replacing broken parts, don’t rush into plugging the unit back in immediately; proceed with testing your repairs first to confirm everything operates as it should.
Test Your Repairs
After you’ve replaced faulty parts and secured all connections, power up your air conditioner to assess the effectiveness of your repairs. Observe whether the unit turns on without tripping any breakers, and listen for unusual noises that could indicate a new problem.
Use a thermometer to check the output temperature and ensure it meets the expected cooling performance. If you have an infrared thermometer or infrared camera, scan for hotspots that suggest residual issues like poor connections or overloaded circuits.
Monitor the system regularly over the next few hours or days. This lets you verify that fixes are holding up and there isn’t any intermittent behaviour that could signal additional concerns.
Keep an eye on your smart thermostat readings or use condition monitoring tools if available—they can offer valuable real-time insights into how well your AC is functioning after maintenance work has been completed.
Conclusion
In tackling AC electrical issues, a clear guide and the right tools are your best allies. Stay vigilant about your unit’s performance and quickly address any odd behaviour. Remember, some fixes are simple enough for do-it-yourself projects.
For more intricate problems, however, consider seeking expertise from a professional electrician. Keep your cool this season by mastering the art of AC electrical troubleshooting.
FAQs
1. What should I check first if my AC stops working?
First, inspect your fuse boxes to ensure there’s no tripped fuse or blown circuit that could be disrupting power. Also, examine any power strips and surge protectors for damage or overload.
2. How can I protect my AC from electrical surges during thunderstorms?
To safeguard your AC from lightning-induced surges during thunderstorms, use a robust uninterruptible power supply (UPS) system along with surge protectors.
3. Can the Luce app help with home cleaning needs for my AC unit?
While not directly related to electrical issues, keeping your AC clear of lint and debris using guidance from apps like Luce can prevent overheating and maintain efficiency.
4. Is it important to use harmonic filters or active power conditioners at home?
If you experience frequent electrical issues with devices like an AC unit due to an unstable power supply, implementing harmonic filters or active power conditioners helps stabilise the current flow.
5. Can infrared thermography be useful in troubleshooting an air conditioner’s electrical problems?
Infrared thermography is a non-invasive method used by professionals to detect hot spots in electrical systems that indicate potential issues within an air conditioning unit’s internal wiring.