As the summer heat ramps up, so does the need for a well-functioning air conditioner. A clogged AC can harm your indoor air quality and reduce energy efficiency. Our blog will guide you through simple DIY cleaning steps to keep your cooling system in shape.
Get ready to breathe clean air again!
Signs Your Air Conditioner Needs Cleaning

Beware of subtle cues that your air conditioning unit might be pleading for a cleanse; from foul odours to a dip in efficiency, these are telltale indicators not to be ignored. Recognising these signs is the first step towards restoring your system’s health and ensuring excellent comfort within your sanctuary.
Physical signs
Your air conditioner might be waving a white flag if you notice these worrying physical signs. A musty odour creeping out from the vents often points to mildew or mould having set up camp in the system, and it’s a clear call to arms for cleaning.
Ice forming on evaporator coils isn’t an impromptu ice sculpture exhibition but a symptom that your air conditioning unit is struggling and potentially overworking due to dirt accumulation.
Dust clouds puffing out upon startup also scream for attention; they signal that debris has been collecting inside your unit, choking its efficiency. Keep an eye out for soiled air filters, too – they’re like the canary in a coal mine, indicating poor indoor air quality and that your DIY air conditioner maintenance skills will soon be in high demand.
Remember, these physical red flags are about comfort and preventing more significant harm to your appliance’s health.
Performance signs
Air conditioners struggling to cool the room might signal that they require a thorough cleaning. Mould and mildew can block external vents, forcing the system to exert more effort than usual.
This additional strain not only impacts performance but could also shorten the lifespan of your unit.
When you expect cold, hot air blowing from your AC, it is another telltale sign demanding immediate attention. It suggests debris or mould growth may hamper airflow or affect the air handler’s component efficiency.
Regular cleaning prevents such issues, ensuring optimal function and consistent comfort in your living spaces.
Tools Needed for DIY Air Conditioner Cleaning
Before you embark on giving your air conditioner a thorough clean, it’s essential to arm yourself with the proper arsenal of tools. From the suction power of a trusty vacuum cleaner to the precise action of a soft brush, ensure you’re equipped with everything necessary for a practical DIY maintenance session.
Vacuum cleaner
A vacuum cleaner is an essential DIY air conditioner cleaning tool, perfect for removing the dirt and debris accumulating in your filters. Its powerful suction force effectively draws out all the unwanted particles from indoor and outdoor units of the air conditioning system.
Make sure to gently glide over coils using the soft brush attachment to avoid damaging delicate fins during coil cleaning.
A wet/dry vacuum can help tackle more stubborn forms of dirt or mould growth, ensuring your unit operates efficiently. Focus on clearing leaves and external obstructions around the condenser unit outdoors as well; this helps maintain optimal performance by preventing airflow blockage.
For safety precautions, always ensure your AC unit is unplugged with a vacuum cleaner before you start your DIY cleaning.
Soft brush
Choose a soft brush for gently removing dirt and debris from your air conditioner’s fins and coils. It’s an effective way to clean without causing damage that harsh tools might inflict.
Use the brush over the condenser, ensuring you move up and down along the fins. This method helps dislodge any stubborn particles clinging to the surfaces.
In tackling portable air conditioners, apply a cleaning solution before using the brush to scrub away grime. For interior parts like evaporator coils, attach a fine-bristled cleaning brush after applying chemical overhaul products, ensuring you reach into all nooks for thorough debris removal.
Gentle strokes will be sufficient; there’s no need to apply excessive force, which could bend or damage delicate components.
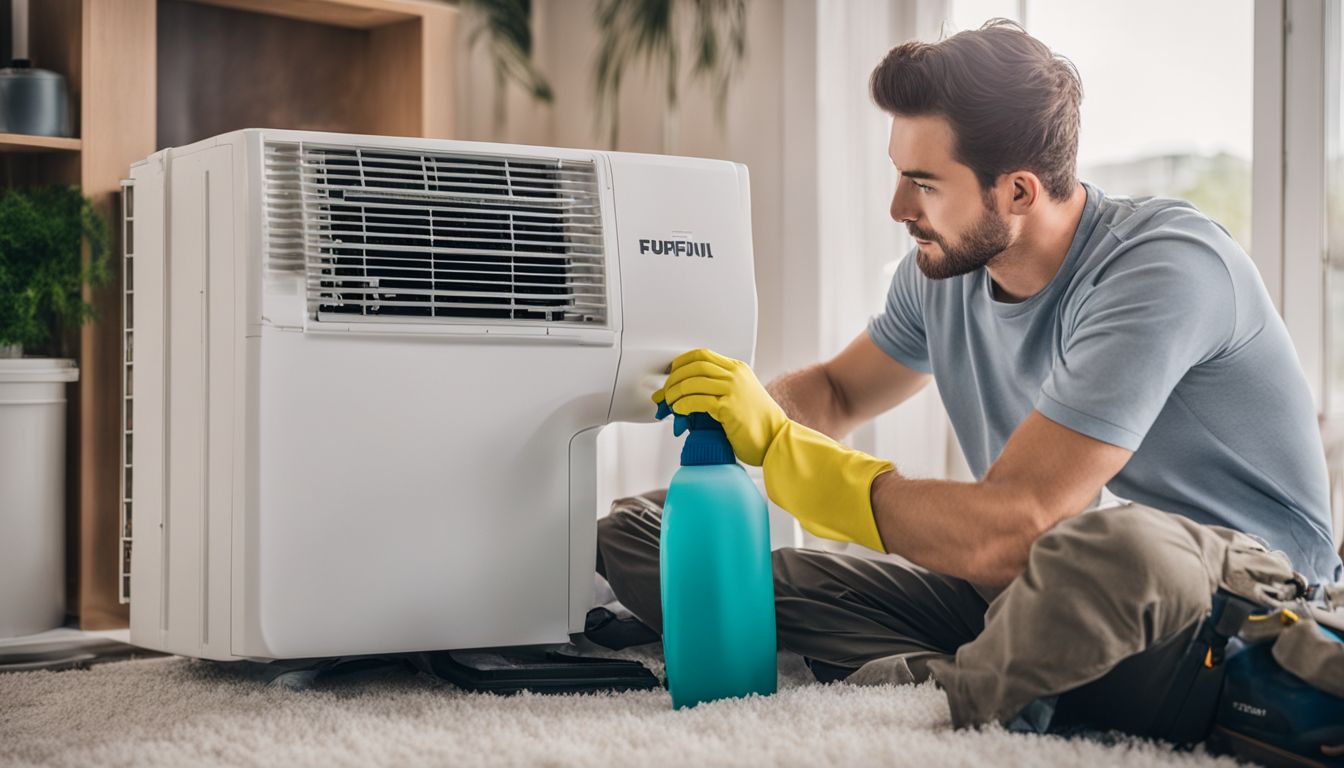
Cleaning solution
Mixing your cleaning solution correctly is crucial for thoroughly cleaning your air conditioner. Combine one cup of vinegar and half a cup of baking soda into a gallon of water to create an effective, homemade cleaner.
This mixture helps remove grime and prevent mould without harming the delicate fins on the evaporator or condenser coils.
Apply this cleaning product carefully, using a soft brush to scrub away dust build-up gently. Make sure not to apply too much pressure that could damage the coils. The natural ingredients ensure it’s safe for your AC unit and the environment while effectively breaking down stubborn dirt particles.
Use this as a regular maintenance routine to keep your air conditioner running smoothly.
DIY Air Conditioner Cleaning Steps
Embarking on a DIY air conditioner clean can revitalise your unit and enhance efficiency, ensuring excellent, fresh airflow throughout your living spaces. Follow these practical steps to meticulously rid your system of accumulated dust and debris for optimum performance.
Using a vacuum cleaner
Using a vacuum cleaner is vital in keeping your air conditioner unit free of dust and small insects. Regularly use the brush attachment to gently sweep across the evaporator coils, taking care not to damage them.
For removable filters, vacuum them thoroughly before soaking them in warm, soapy water for deeper cleaning.
Vacuum cleaning isn’t just for the internal parts; focus on the front cover and interior cabinet. Make it part of your weekly routine to pass over the exterior surfaces with a vacuum to prevent the build-up of dust that can hinder airflow and efficiency.
This simple upkeep helps maintain insulation by ensuring all parts are dirt-free and operating smoothly.
Using an air compressor
An air compressor makes for a powerful ally in your cleaning toolkit, allowing you to reach the parts of the air conditioner that are typically out of grasp. With concentrated blasts of air, it effortlessly dislodges stubborn dirt and debris from within your unit’s intricate components.
Ensure you direct the airflow away from sensitive parts to prevent damage.
Transforming your AC’s performance can be as simple as giving its compressor a thorough clean. This step is crucial not only for hygiene but also for maintaining peak efficiency and extending the life span of your system.
Remember to switch off electricity before starting, and always wear safety goggles to protect your eyes from flying particles while you work with this handy device.
Cleaning with chemicals
For chemical cleaning, it’s vital to choose the right products. Opt for a gentle detergent mixed with water rather than harsh chemicals that might harm your air conditioner’s parts.
Apply this mild solution carefully to target areas where dirt and grime accumulate. This step is crucial for not only cleaning but also maintaining the integrity of your AC unit.
Ensure every component receives a thorough rinse with clean water after using any chemical solutions. This ensures that all residue from both dirt and cleaning agents is thoroughly washed away, leaving your air conditioner free of potentially damaging substances.
Proper rinsing also prepares the unit for optimal operation once you turn it back on.
Changing the filter
Regularly changing the filter is a must to keep your air conditioner running smoothly. A new, clean filter improves the quality of your indoor air and enhances your unit’s efficiency, cutting energy consumption by up to 15 per cent.
This simple step could save you money on bills and prevent costly repairs.
Grab your cleaning products and ensure you have a suitable size replacement before starting. Switch off the AC, then locate and remove the old filter – look for any signs of wear or damage, as this dictates it’s time for a swap.
Slide in the fresh filter according to manufacturer instructions, typically done every one to two months during peak usage seasons. Remember that thorough cleaning should be part of maintenance every three months, with an annual replacement to ensure optimal performance.
Clearing the drain
Begin clearing your air conditioner’s drain by turning off the unit. This is crucial for safety and to prevent water damage while working. Locate the drain line near the outdoor unit and inspect it for any visible blockage.
Mix warm water and vinegar to create an effective cleaner that eliminates mould and bacteria. Gently pour this mixture into the drain line to flush out sludge, algae, and other debris.
Continue cleaning by checking the drain pan for standing water, which indicates clogs or obstructions in the system. Use a wet-dry vacuum to remove excess moisture from both the pan and the end of the drain line outside your home.
Regularly maintaining this part of your air conditioner helps prevent overflow issues and keeps your home environment healthy. Ensure that after these steps, reattach any removed parts securely before powering up your AC unit for optimal performance.
Understanding How Often to Tune-Up Your AC Unit
Air conditioning experts suggest a complete tune-up of your AC unit is essential at least once every year to ensure it runs efficiently. During these service appointments, a professional technician will inspect the system for any issues that might hinder performance or cause future breakdowns.
They’ll do tasks like cleaning the coils, checking refrigerant levels, and ensuring electrical components are in good condition.
Make sure you change out your HVAC system blower filter regularly – at least twice yearly is advisable. This simple step can have a significant impact on both air quality and system efficiency.
Regular maintenance keeps your AC running smoothly and helps prevent unexpected repairs that can be costly and inconvenient. Always schedule these tune-ups before peak seasons to guarantee maximum comfort when you need it most.
Conclusion

ByMastering these DIY steps’ll keep your air conditioner running smoothly. Embrace the challenge and give your unit the care it deserves with a personal touch. Keep in mind that regular maintenance wards off future faults and boosts efficiency.
So grab those tools, roll up your sleeves, and breathe new life into your cooling companion today! Your comfort awaits as you take charge of this essential home upkeep task.
To ensure your air conditioning unit remains in top condition, consider reading our guide on how often to tune up your AC unit.
FAQs
1. How often should I clean my air conditioner?
It would help if you cleaned your air conditioner every three to six months to keep it running efficiently.
2. What do I need to clean my aircon at home?
You’ll need a screwdriver, cleaning cloth, soft brush, and a vacuum cleaner with attachments for reaching into narrow spaces to clean your aircon.
3. Can I use water to wash the filters in my air conditioner?
Yes, you can use water to rinse the reusable filters gently, but ensure they are completely dry before putting them back in place.
4. What part of the air conditioning unit is most important to keep clean?
The filter is the most crucial part you should regularly clean as it catches dust and dirt particles from the air.
5. Is there any safety step I should take before starting DIY cleaning on my AC unit?
For safety reasons, always turn off and unplug your AC unit from the electrical outlet before beginning any cleaning work.