Air conditioners often struggle, especially during hot spells. A well-maintained AC unit is key to staying cool and comfortable. Our blog offers easy DIY solutions for common air conditioning hiccups you can do at home.
Dive in for cool fixes!
Identifying Common AC Problems
Discovering the root cause of your AC woes is essential, whether you’re facing a mysterious leak or contending with a unit that refuses to start. By pinpointing typical issues such as frozen coils and fluctuating temperatures, you set the stage for effective solutions that restore calm and coolness to your abode.
Refrigerant is leaking
Refrigerant leaks can drastically reduce your air conditioning system’s efficiency and are particularly common in older models. If you notice puddles near your unit or discover it’s not cooling as effectively, it could be a sign of leaking coolant.
The evaporator coils may develop ice build-up if there is insufficient refrigerant, which further impedes the heat transfer process essential for cooling.
Dealing with a refrigerant leak requires quick action to prevent more serious damage to your AC unit. Physical damage to refrigerant lines often leads to leaks and requires professional repair attention.
It’s crucial to address these issues promptly since letting them go unresolved can lead to higher energy bills and diminished indoor air quality due to the poor performance of the heating and cooling system.
AC unit won’t turn on.
If your AC unit doesn’t spring to life, don’t panic. A common culprit could be tripped circuit breakers, which shut off power to prevent electrical overload. Head over to the breaker panel and take a look; resetting any tripped switches might just bring your cooling companion back online.
Loose wires in your thermostat also disrupt communication with the air conditioning unit, so ensure all connections are snug and secure.
Sometimes, a simple tweak of thermostat settings is all it takes. Ensure the thermostat is in ‘cool’ mode and set below room temperature for activation. If issues persist despite these checks, replace old batteries as they might be unable to kick-start the HVAC system into action.
Regular attention keeps unexpected hitches at bay and sustains home comfort through sweltering Florida heat or sudden power outages.
Frozen coil
A frozen coil can stop your AC cold in its tracks, making it impossible to cool your home. This issue often arises from dirty coils or low refrigerant levels, which cause the temperature to drop too much and ice to form.
High humidity inside the house and fans that aren’t working properly also contribute to this chilly problem.
To get your cooling system back up and running, you’ll need to address the icy build-up swiftly. Shut down the AC unit immediately if you spot frost on the evaporator coils; continuing to run it can lead to serious damage.
Once powered off, give the coils time to defrost on their own. Meanwhile, check for any signs of refrigerant leaks or dirt accumulation which may have led to freezing. Cleaning these components restores airflow and efficiency while preventing future freeze-ups in your HVAC unit’s delicate heat exchange process.
Unit cycles on and off
Your AC unit cycling on and off too often signals something wrong. This behaviour, known as short cycling, could point to various issues hindering your system’s efficiency.
One major cause might be electrical problems such as loose connections or damaged wires. These faults disrupt the consistent power supply necessary for smooth operation, forcing the AC to shut down and restart repeatedly.
Debris inside your air conditioning system can also provoke this erratic performance by blocking airflow or clogging vital components. The compressor or condenser coils choking on dirt and dust are common culprits in these situations.
Regularly cleaning these parts is essential to ensure your unit runs without unnecessary interruptions and maintains optimal cooling efficiency throughout its operations.
Unpleasant odours from the AC
Unpleasant odours from your AC often signal that it’s time to check and replace dirty components. Mould growth within the air ducts or bacteria buildup can create a musty scent, disturbing the comfort of your indoor environment.
Regular cleaning of air filters and ensuring they are free from obstructions reduces the risk of these smells.
Dirty coils in your unit could also produce a foul smell resembling burnt material. This indicates possible overheating issues that need immediate attention. Maintaining clean coils and proper air circulation prevents odour problems before they start affecting your home’s air quality.
For persistent bad scents, inspect the condensate drain line for blockages as trapped moisture can become a breeding ground for mould and mildew, producing unwanted odours.
The unit is blowing hot air.
If your air conditioning unit starts blowing hot air, it may signal a problem with the refrigerant levels or a faulty compressor. Low refrigerant can cause the temperature to increase inside your home as the AC struggles to cool the air.
Similarly, if your compressor isn’t working correctly, it won’t be able to pump refrigerant through the system effectively, leading to warm airflow from the vents.
Dirty filters could also be responsible for insufficient cooling. They restrict airflow and can even cause evaporator coils to freeze up—another reason you might experience unexpected heat emanating from your system.
Regularly cleaning or replacing clogged air filters is a key step in maintaining energy efficiency and ensuring reliable performance from your HVAC systems. Should thermostat issues arise like dead batteries or incorrect settings, they too can easily be addressed without requiring emergency service.
Don’t let these common setbacks compromise your comfort; routine maintenance and prompt fixes can keep those cool breezes flowing steadily throughout hot days.
Weak airflow
Your AC’s weak airflow can turn comfortable rooms into stuffy spaces. Often, this is a sign that the blower motor isn’t pushing air through ductwork efficiently. Take a look at your cabin air filter; if it’s clogged with dust and debris, replacing it might be all you need to boost the breeze.
Blocked vents also contribute to poor circulation, so clear away furniture or curtains that could hinder airflow.
Inspecting your home’s ducts for leaks or blockages is crucial as they can significantly reduce air movement from the unit to your rooms. Check connectors in your ductwork for any dislodgement and seal them tight to prevent loss of air pressure.
A well-maintained blower motor ensures it operates at full tilt, so give it attention during routine preventive maintenance checks. These simple DIY fixes help enhance comfort levels without having to call in an HVAC industry repairman immediately.
DIY Fixes for Common AC Problems
Discover hands-on solutions to typical air conditioning woes, empowering you to address issues confidently and keep your system running smoothly – read on for practical DIY guidance.
Check the breaker panel.
If your AC unit fails to act, heading straight to the breaker panel might solve the issue. Tripped circuit breakers are often the culprits behind an air conditioner’s sudden refusal to operate.
Flip them off and then on again; this simple step can restore power and get your system humming once more. It’s a quick task that could save you time and money, ensuring the electrical function of your cooling companion remains reliable.
Make it a habit to inspect the breaker panel periodically as part of routine maintenance checks for your home’s electrical systems. This proactive measure helps prevent unexpected shutdowns or compressor problems due to overlooked tripped circuits.
Remember, handling high-voltage components carries risk, so exercise caution—you want to keep both yourself and your air conditioning units safe from harm.
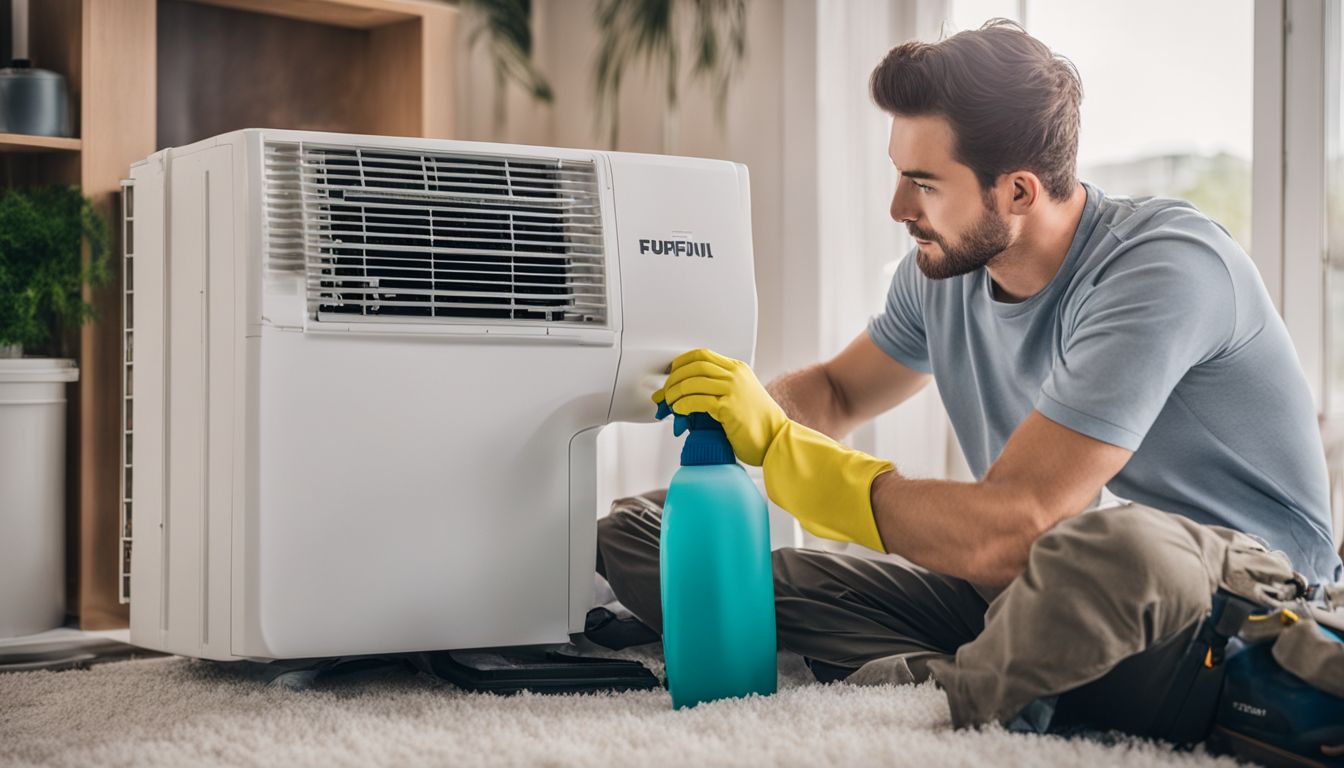
Clean AC filters
Keeping your AC filters clean is crucial for the system to work effectively. Dirty or clogged filters can cause the unit to work harder, which might lead to weak airflow and create unusual noises.
To ensure your air conditioner maintains efficiency, you should regularly remove the filters and gently clean them with a vacuum cleaner.
Sometimes, you may need to wash reusable filters with mild soap and water; just ensure they are completely dry before reinstalling. Remember that incorrect handling during cleaning can damage the filters, so if you’re unsure, it’s wise to seek help from a professional technician.
Regular filter maintenance enhances reliability and prevents problems like mould growth due to obstructed airflow.
Clean the outdoor unit.
Begin the cleaning process by turning off the power to your outdoor unit. This safety step is crucial before you start any maintenance work. Look for dirt, leaves, and other debris that may have gathered around the condenser coils and remove them gently but thoroughly.
Use a garden hose in a gentle setting to wash away accumulated dust or grime from the coils. Be careful not to bend or damage the delicate fins during this process.
Ensure you clear all blockages near your A/C’s outdoor unit for optimal airflow. Trim any plants or shrubs that might obstruct air circulation around the unit since proper ventilation is key for efficient performance.
To prevent future buildup, consider placing a breathable cover over the unit when it’s not in use during cooler seasons. Regular upkeep of your outdoor unit saves energy and extends the life of your heating and air conditioning system significantly.
Test your thermostat
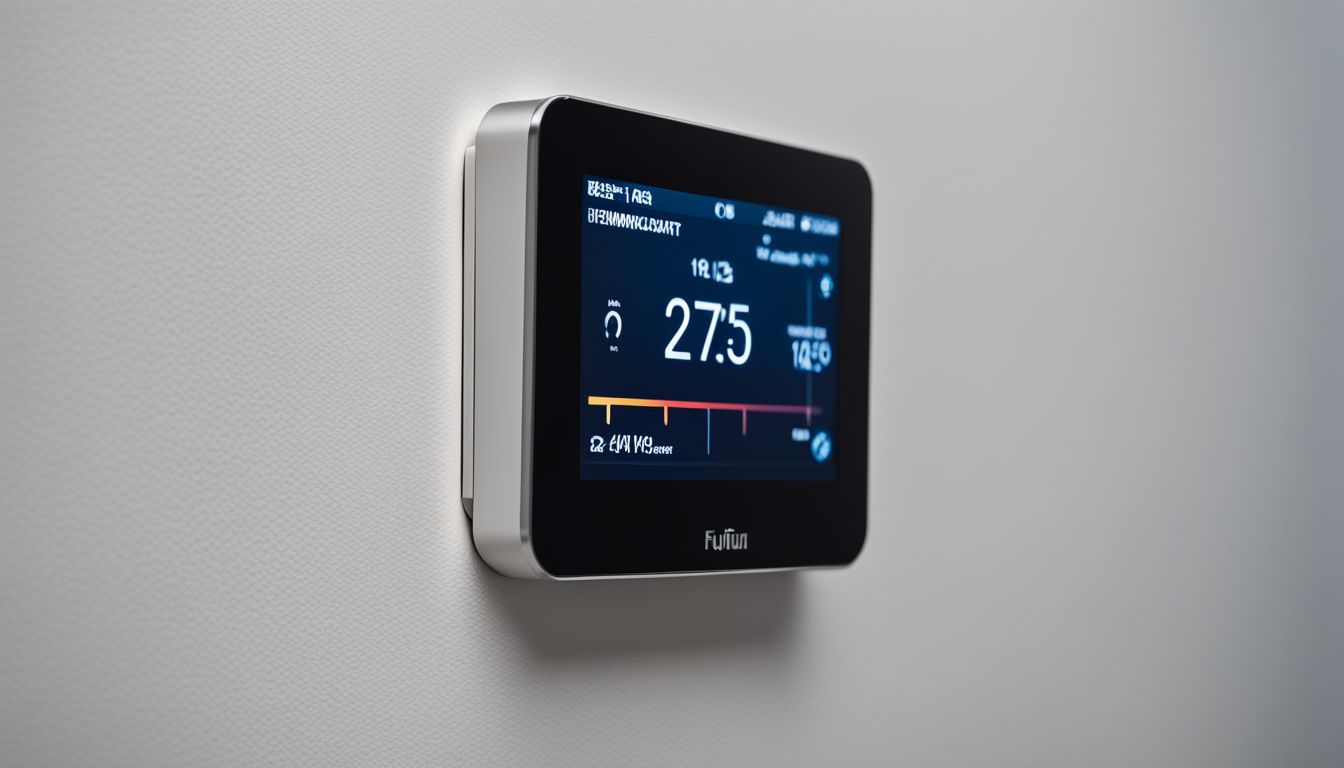
Ensure your thermostat is the hero, not the culprit of your AC woes. First, check its batteries – weak or dead ones could be at fault. If it’s a battery-powered unit and the display is blank, swap in new batteries to see if that resolves the issue.
Next, give it a good look-over for any signs of electrical problems. Loose wiring or corrosion can interfere with its operation; tighten connections and clean off any build-up you find.
Adjust temperature settings slightly above room temperature to prompt your air handler into action; listen for any strange noises that may indicate internal issues. Ensuring that your thermostat responds correctly helps rule out one potential cause of airflow problems before moving on to more complex tasks like checking vents or cleaning filters.
Clean your AC coils.
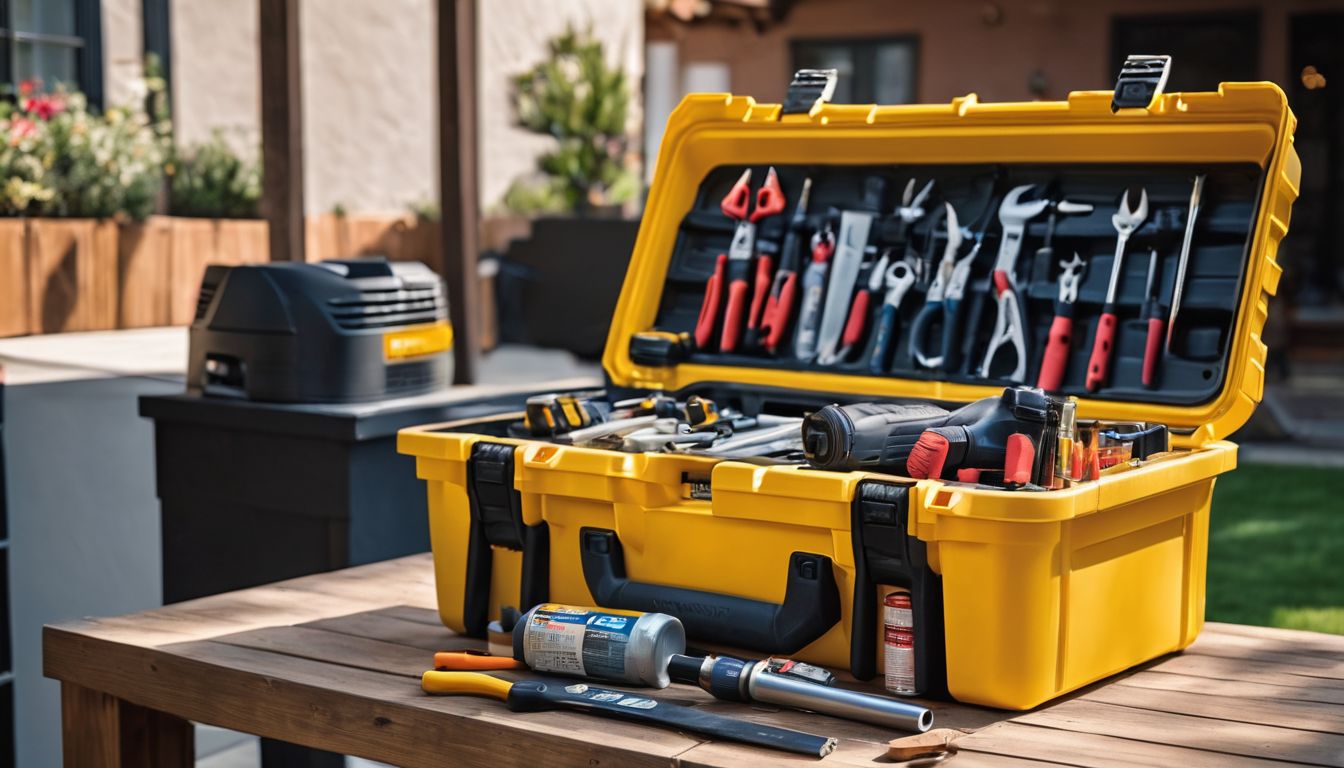
Dirty coils in your air conditioner can mean trouble, leading to inefficient cooling and a hefty increase in energy usage. To tackle this, turn off your AC unit before you begin cleaning to avoid any electrical issues.
You’ll need some basic tools: a fin comb helps straighten any bent coil fins, while a coil brush reaches dust and debris that’s tough to remove.
Next, use foaming coil cleaner for a deep clean; it gets into the nooks and crannies of the coils. Spray carefully and let it dwell as per instructions on the cleaner label. Rinse gently with a garden hose if your coils are outdoors; high pressure might damage them.
This DIY step is crucial to maintain efficiency and prevent common problems caused by neglecting HVAC maintenance. Regularly doing so ensures you dodge bigger issues that could freeze up your system, much like an ill-maintained fridge struggles due to frosted-over coils.
Remove ice build-up
To remove ice buildup, first turn off your AC system. This stops further ice from forming and allows existing ice to melt. While it’s tempting to chip away at the frost, steer clear of using sharp objects like knives or picks; these can damage sensitive components like the evaporator coil.
Instead, set the thermostat to fan mode, which will blow warm room air over the coils and speed up the melting process without any additional risks.
Regularly check and replace your AC filters to prevent future ice issues. A clogged filter restricts airflow and can cause freezing on the coils. If you spot mould or see debris in the drain line, clean it with a wet/dry vacuum.
Keeping these areas clear helps maintain steady airflow and optimal temperature control within your system, reducing the likelihood of another icy encounter.
Clean the vents
Blocked vents in your home can limit the airflow of your HVAC system, making it work harder than necessary and potentially leading to bigger issues. Regularly cleaning these vents helps maintain consistent performance and prevents dust and debris from circulating through your rooms.
Simply remove the vent covers, use a vacuum with a brush attachment to suck out any accumulated dirt, and then wipe down the covers with a damp cloth before putting them back in place.
Ensuring that vents are unobstructed by furniture or drapes also allows air to circulate freely. This not only optimises the efficiency of your heating and cooling system but also safeguards against strain that could shorten its lifespan.
A routine check around your house for blockages will save you from future headaches and keep those all-important breezes flowing smoothly throughout every season.
DIY AC Troubleshooting Guide
Check your thermostat to see if it needs new batteries or adjustments. This simple step can often solve problems with an AC not maintaining the right temperature. Regularly replace or clean air filters, as dirty filters restrict airflow and reduce system efficiency, leading to issues like ice formation on coils.
Look for tripped circuit breakers in your home’s electrical panel if the AC won’t power up—resetting them might get your unit running again. If you notice that the unit turns on and off more frequently than usual, inspect for any obstructions around the condenser or inside vents that could be causing short cycling.
Remember that some DIY efforts can impact warranty terms or require professional skills due to legal restrictions surrounding certain repairs.
When to Call in the Professionals
Sometimes, your air conditioning unit might make loud or unexpected noises that signal it’s time for expert attention. If you hear grinding, squealing, or rattling, it could mean there’s a serious problem with the internal mechanics.
Attempting to fix complex issues on your own can lead to further damage or even pose safety risks.
Certain situations like refrigerant leaks require professionals who have specialised tools and training. Without properly handling these chemicals by certified technicians, you risk breaking environmental regulations and damaging your system.
Also, if your unit cycles on and off repeatedly or blows hot air constantly despite all DIY troubleshooting efforts, this is an indication that a professional should step in to diagnose deeper issues within the system.
A faulty thermostat may not be as simple as replacing the batteries; sometimes its wiring can be complicated and demand technical expertise to repair effectively.
Conclusion
Keeping your AC in tip-top shape doesn’t have to be daunting. With a few simple DIY skills, you can solve many common issues yourself. Remember to stay cautious and know when the problem is out of your depth.
Ensure timely maintenance and don’t hesitate to seek professional help for complex repairs. Tackling AC troubles effectively keeps your home cool and comfortable all year round.
For a more detailed step-by-step guide on tackling AC issues yourself, visit our DIY AC Troubleshooting Guide.
FAQs
1. What should I do if my AC thermostat isn’t working?
Check the thermostat batteries first; they may simply need replacing.
2. Why is there ice on my AC unit?
Ice can build up on your air conditioning unit due to low refrigerant levels or airflow issues, so it’s important to investigate and fix these problems.
3. Can I fix common AC problems myself?
Many typical AC issues can be tackled with DIY fixes, such as changing filters or resetting the system.
4. Who do I contact for more complex AC problems?
For complex problems beyond DIY fixes, it’s best to email a certified technician with AC repair experience.